O que é arrastar e soltar?
Arrastar e soltar é basicamente o que parece – é uma interação que permite a alguém clicar e arrastar um item e, em seguida, soltá-lo em outro lugar, geralmente tendo um efeito colateral no aplicativo.
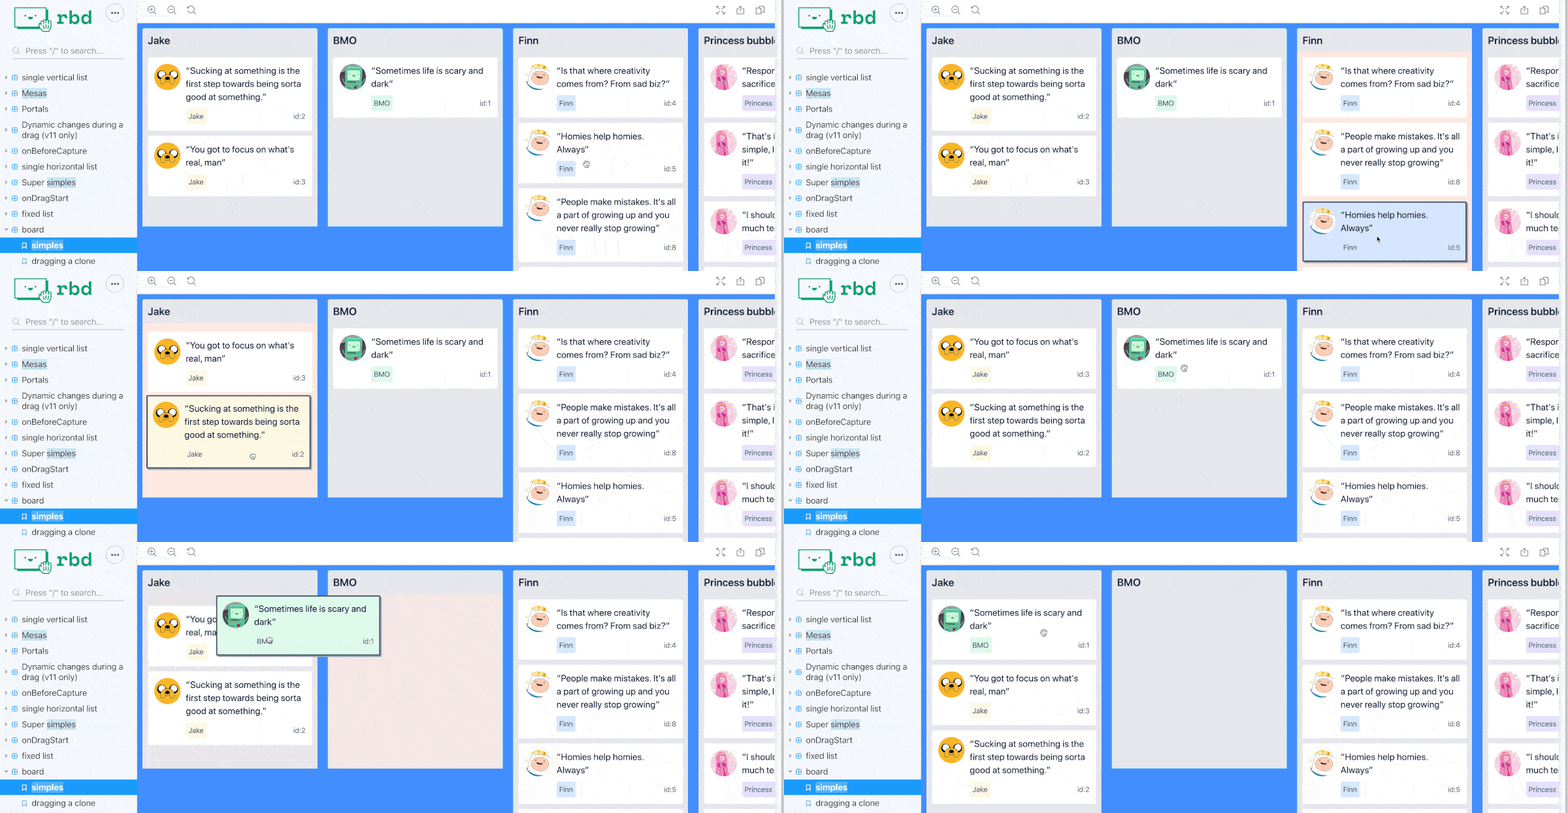
Esse efeito é bastante comum em aplicativos como listas de tarefas ou painel de gerenciamento de projetos, onde você precisa priorizar e criar uma ordem de como as coisas devem ser feitas.
Embora arrastar e soltar possa ter alguns casos de uso avançados, nos limitaremos à funcionalidade de lista básica em nosso passo a passo.
O que é React Beautiful DnD?
React Beautiful DnD é uma biblioteca de arrastar e soltar acessível da Atlassian. Se você não conhece Atlassian, eles são a equipe por trás de Jira. Se você não está familiarizado com o Jira, é provavelmente a maior ferramenta ágil da Internet atualmente.
Os objetivos da equipe eram fornecer recursos de arrastar e soltar com acessibilidade em mente, além de mantê-lo noturno e com desempenho com uma API poderosa.
O que vamos construir?
Vamos começar com uma lista simples e adicionar a capacidade de arrastar e soltar.
Neste passo a passo, não perderemos tempo construindo a própria lista. A lista que usaremos usa uma lista não ordenada padrão (<ul>) e itens de lista (<li>) para criar uma lista com um pouco de CSS para torná-la semelhante a cartões.
Estaremos nos concentrando em adicionar a capacidade de arrastar e soltar para reorganizar a lista usando React Beautiful DnD.
Etapa 0: Criar um novo aplicativo React.js
Para começar, queremos um aplicativo simples que inclua uma lista de itens. Pode ser um projeto existente ou um novo projeto usando sua estrutura favorita, como Criar aplicativo React.
Comecei com um novo aplicativo usando o aplicativo Create React e adicionei uma lista simples de Espaço Final personagens.
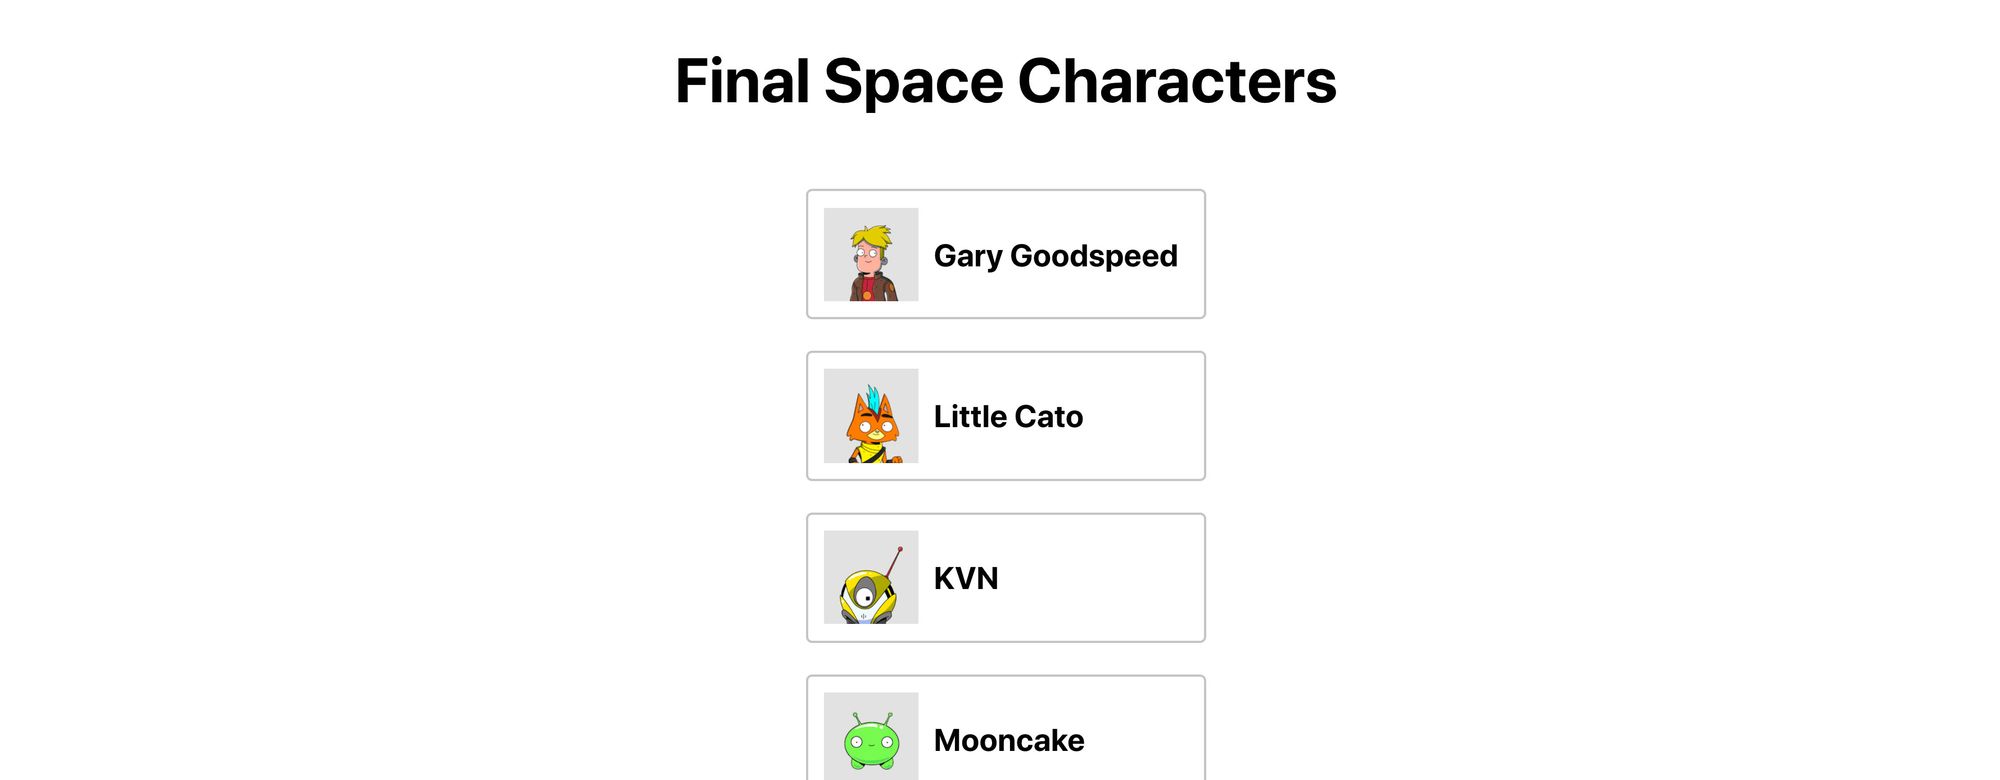
Se você quiser começar do mesmo lugar, pode clonar meu repositório de demonstração nesse branch e começar comigo.
Este comando irá clonar o ramo específico para começar:
git clone --single-branch --branch part-0-starting-point [email protected]:colbyfayock/my-final-space-characters.gitCaso contrário, você pode clonar o repositório normalmente e confira o ramo part-0-starting-point.
Se você quiser acompanhar apenas o código, primeiro criei uma matriz de objetos:
const finalSpaceCharacters = [ { id: 'gary', name: 'Gary Goodspeed', thumb: '/images/gary.png' }, ...And then I loop through them to create my list:
<ul className="characters"> {finalSpaceCharacters.map(({id, name, thumb}) => { return ( <li key={id}> <div className="characters-thumb"> <img src={thumb} alt={`${name} Thumb`} /> </div> <p> { name } </p> </li> ); })}</ul>Step 1: Installing React Beautiful DnD
First step is to install the library via npm.
Inside of your project, run the following:
yarn add react-beautiful-dnd# ornpm install react-beautiful-dnd --saveThis will add the library to our project and we’ll be ready to use it in our app.
Step 2: Making a list draggable and droppable with React Beautiful DnD
With our library installed, we can give our list the ability to drag and drop.
Adding Drag and Drop context to our app
At the top of the file, import DragDropContext from the library with:
import { DragDropContext } from 'react-beautiful-dnd';DragDropContext is going to give our app the ability to use the library. It works similarly to React’s Context API, where the library can now have access to the component tree.
Note: If you plan on adding drag and drop to more than one list, you need to make sure that your DragDropContext wraps all of those items, like at the root of your application. You can not nest DragDropContext.
We’ll want to wrap our list with DragDropContext:
<DragDropContext> <ul className="characters"> ...</DragDropContext>At this point, nothing will have changed with the app and it should still load as it did before.
Making our list a Droppable area
Next, we want to create a Droppable area, meaning, this will allow us to provide a specific area where our items can be moved around inside.
First, add Droppable to our import at the top of the file:
import { DragDropContext, Droppable } from 'react-beautiful-dnd';For our purpose, we want our entire unordered list (<ul>) to be our drop zone, so we’ll again want to wrap it with this component:
<DragDropContext> <Droppable droppableId="characters"> {(provided) => ( <ul className="characters"> ... </ul> )} </Droppable></DragDropContext>You’ll notice we wrapped it a bit differently this time though. First, we set a droppableId on our <Droppable> component. This allows the library to keep track of this specific instance between interactions.
We’re also creating a function immediately inside of that component that passes in the provided argument.
Note: This function can pass in two arguments including a snapshot argument, but we won’t be using it in this example.
The provided argument include information and references to code that the library needs to work properly.
To use it, on our list element, let’s add:
<ul className="characters" {...provided.droppableProps} ref={provided.innerRef}>This is going to create a reference (provided.innerRef) for the library to access the list element’s HTML element. It also applies props to the element (provided.droppableProps) that allows the library to keep track of movements and positioning.
Again, at this point, there won’t be any noticeable functionality.
Making our items Draggable
Now for the fun part!
The final piece of making our list elements draggable and droppable is wrapping each list item with a component similar to what we just did with the entire list.
We’ll be using the Draggable component, which again, similar to the Droppable component, will include a function where we’ll pass through props to our list item components.
First, we need to import Draggable along with the rest of the components.
import { DragDropContext, Droppable, Draggable } from 'react-beautiful-dnd';Next, inside of our loop, let’s wrap the returning list item with the <Draggable /> component and it’s top level function.
{finalSpaceCharacters.map(({id, name, thumb}) => { return ( <Draggable> {(provided) => ( <li key={id}> ... </li> )} </Draggable>Because we now have a new top level component in our loop, let’s move the key prop from the list element to Draggable:
{finalSpaceCharacters.map(({id, name, thumb}) => { return ( <Draggable key={id}> {(provided) => ( <li>We also need to set two addition props on <Draggable>, a draggableId and an index.
We’ll want to add index as an argument into our map function and then include those props on our component:
{finalSpaceCharacters.map(({id, name, thumb}, index) => { return ( <Draggable key={id} draggableId={id} index={index}>Finally, we need to set some props on the list element itself.
On our list element, add this ref and spread additional props from the provided argument:
<Draggable key={id} draggableId={id} index={index}> {(provided) => ( <li ref={provided.innerRef} {...provided.draggableProps} {...provided.dragHandleProps}>Now, if we refresh our page, and hover over our list items, we can now drag them around!
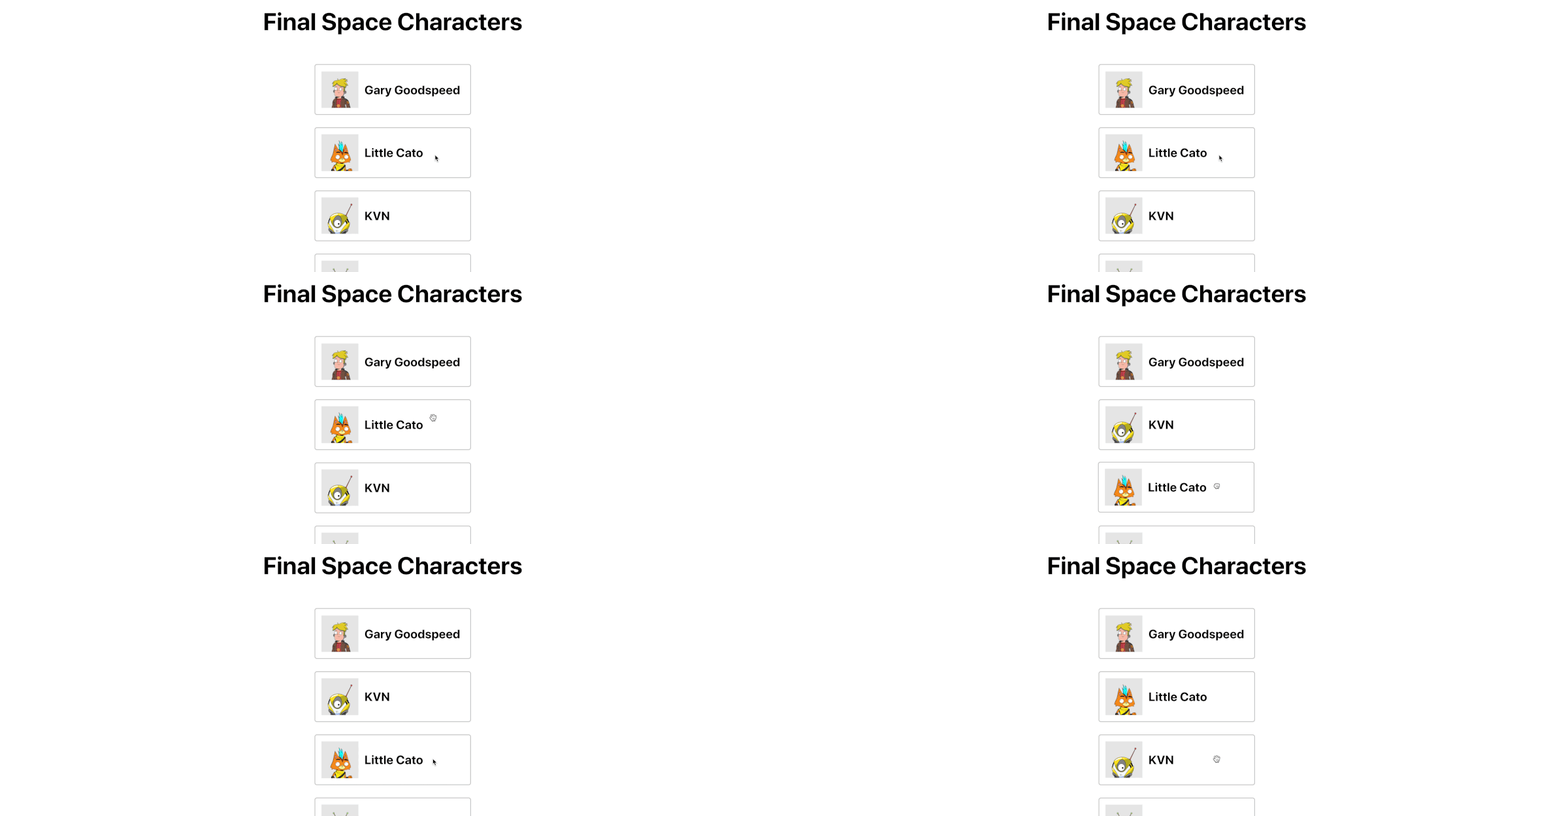
However, you’ll notice that when you start moving an item around, the bottom of the page appears to be a little messed up. There’s some overflow issues with our list items and our footer.
You’ll also notice that in the developer console, React Beautiful DnD is giving us a warning message that we’re missing something called a placeholder.

Adding a placeholder from React Beautiful DnD
Part of React Beautiful DnD’s requirements is that we additionally include a placeholder item.
This is something that they provide out of the box, but this is used to fill up the space that the item we’re dragging previously took.
To add that, we want to include provided.placeholder at the bottom of our Droppable top level list component, in our case at the bottom of the <ul>:
<Droppable droppableId="characters"> {(provided) => ( <ul className="characters" {...provided.droppableProps} ref={provided.innerRef}> ... {provided.placeholder} </ul> )}</Droppable>And if we start dragging things around in our browser, we can see that our page flow doesn’t have issues and the content stays where it should!

The last issue though, is when you move something around, it doesn’t stay, so how can we save the order of our items?
Step 3: Saving list order after reordering items with React Beautiful DnD
When we move our items, they stay where they land for a split second. But after React Beautiful DnD finishes doing its work, our component tree will rerender.
When the components rerender, our items go back to the same place that they were before, because we never saved that outside of DnD’s memory.
To resolve this, DragDropContext takes in an onDragEnd prop that will allow us to fire a function after dragging has complete. That function passes in arguments that includes the new order of our items so that we can update our state for the next render cycle.
Saving our list items in state
First, let’s store our items in state so that we’ll have something to update between cycles.
At the top of the file, add useState to the React import:
import React, { useState } from 'react';Then, we’re going to create our state using our default list of items.
Add the following to the top of our App component:
const [characters, updateCharacters] = useState (finalSpaceCharacters);Porque estaremos atualizando nosso novo characters estado para fornecer nossos itens de lista e sua ordem, agora queremos substituir a matriz que estamos mapeando para nosso novo estado:
<ul className="characters" {...provided.droppableProps} ref={provided.innerRef}> {characters(({id, name, thumb}, index) => {E se salvarmos e atualizarmos nossa página, nada deve mudar!
Atualizando o estado ao arrastar itens
Agora que temos nosso estado, podemos atualizá-lo a qualquer momento em que nossos itens de lista são arrastados.
o DragDropContext componente que adicionamos à nossa página inclui um suporte onDragEnd. Como parece, isso irá disparar uma função sempre que alguém parar de arrastar um item da lista.
Vamos adicionar uma função handleOnDragEnd como nosso suporte:
<DragDropContext onDragEnd={handleOnDragEnd}>Em seguida, precisamos que essa função realmente exista.
Podemos definir uma função em nosso estado:
function handleOnDragEnd(result) {}Nossa função recebe um argumento chamado result.
Se adicionarmos console.log(result) para a função e mover um item em nossa lista, podemos ver que inclui detalhes sobre qual deve ser o estado atualizado após nossa ação de movimento.

Particularmente, queremos usar o index valor em ambos destination e source propriedades, que nos informam o índice do item que está sendo movido e qual deve ser o novo índice desse item na matriz de itens.
Então, usando isso, vamos adicionar o seguinte à nossa função:
const items = Array.from(characters);const [reorderedItem] = items.splice(result.source.index, 1);items.splice(result.destination.index, 0, reorderedItem);updateCharacters(items);Aqui está o que estamos fazendo:
- Criamos uma nova cópia do nosso
charactersmatriz - Nós usamos o
source.indexvalor para encontrar nosso item de nossa nova matriz e removê-lo usando osplicemétodo - Esse resultado é desestruturado, então terminamos com um novo objeto de
reorderedItemesse é o nosso item arrastado - Nós então usamos nosso
destination.inddexpara adicionar esse item de volta à matriz, mas em seu novo local, novamente usandosplice - Finalmente, atualizamos nosso
charactersestado usando oupdateCharactersfunção
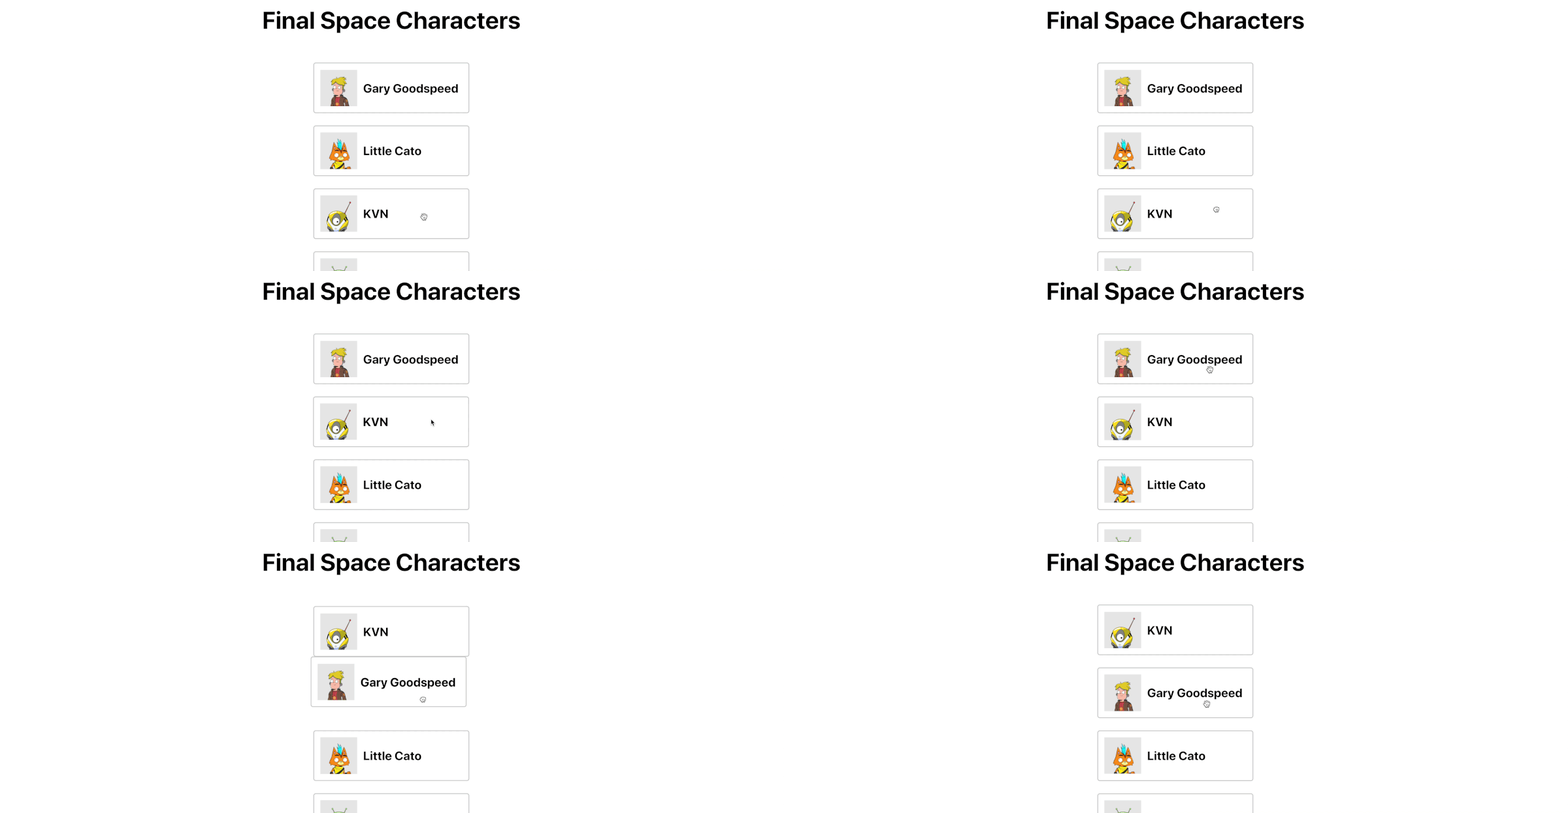
E agora, depois de salvar nossa função, podemos mover nossos personagens, e eles salvam sua localização!
Evitar que erros sejam arrastados para fora dos limites
Um problema com nossa implementação, é se alguém não arrastar o item exatamente dentro de nossos contêineres definidos, obtemos um erro.
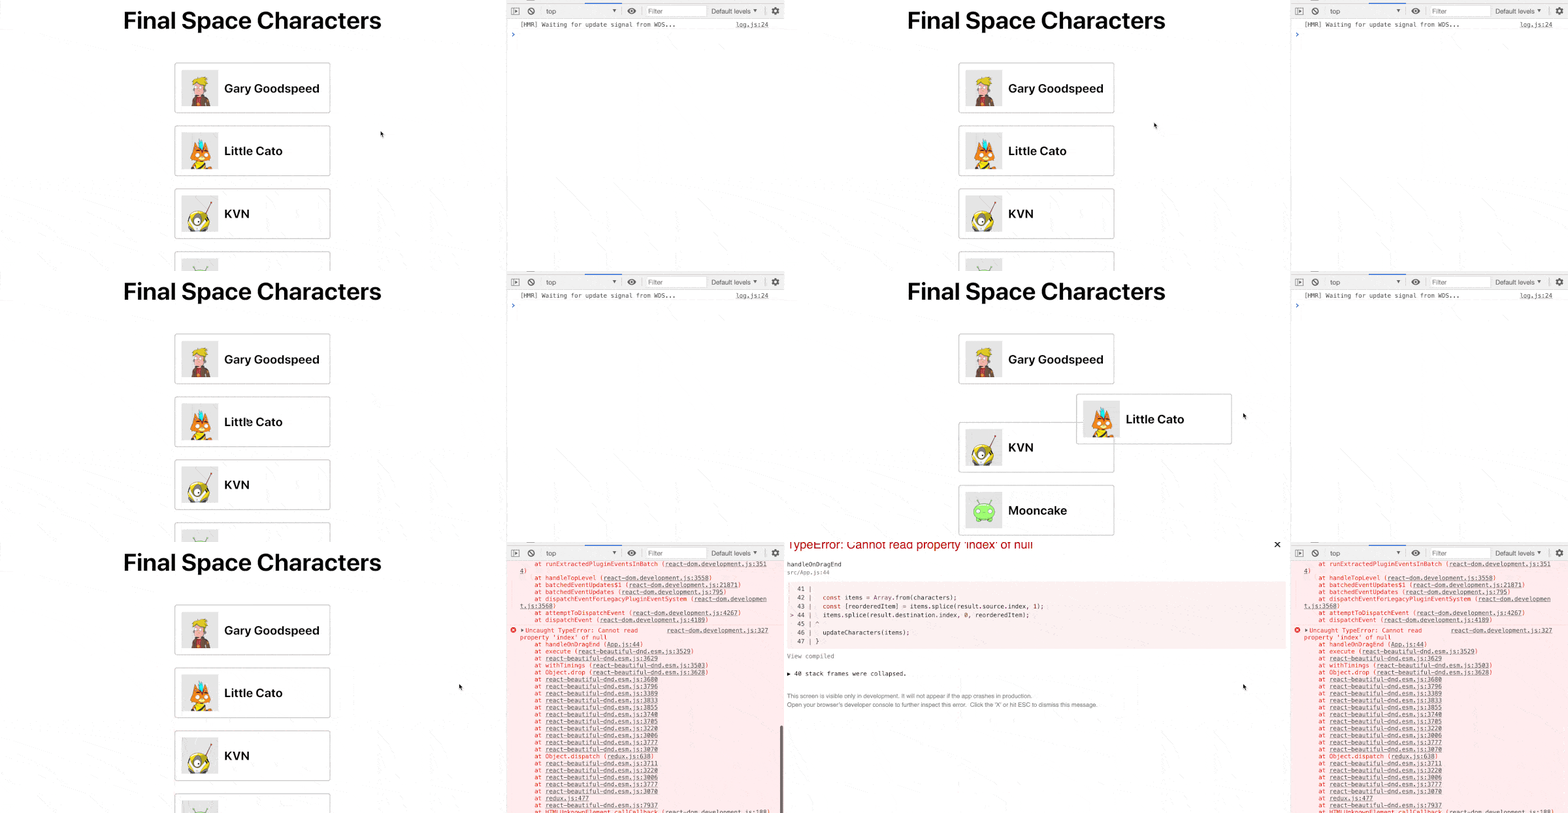
O problema é que, quando o arrastamos para fora do contêiner definido, não temos um destino.
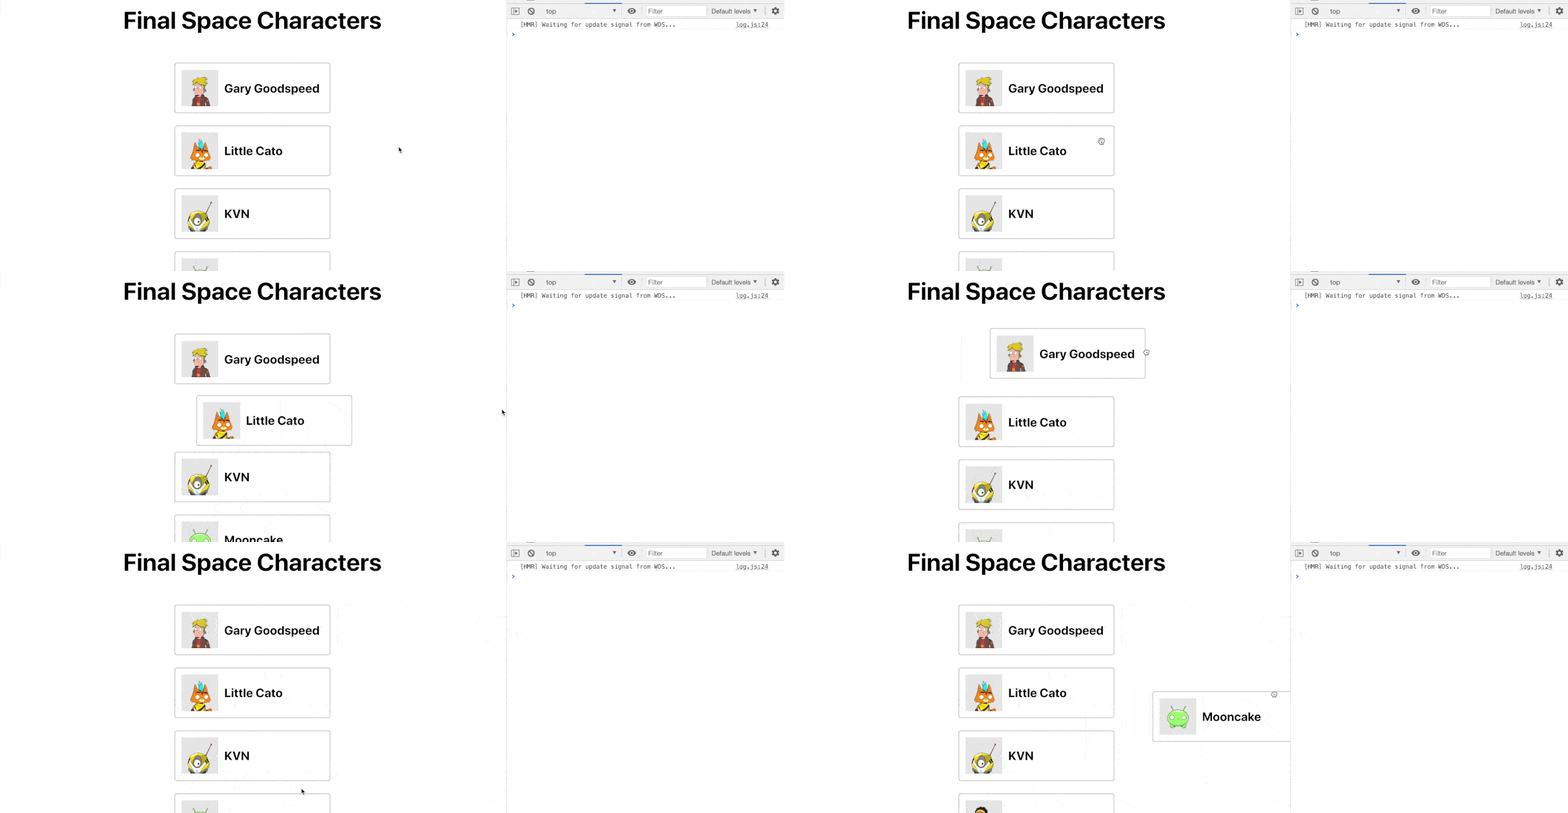
Para evitar isso, podemos simplesmente adicionar uma instrução acima do código que move nosso item que verifica se o destino existe e, se não existir, sai da função:
function handleOnDragEnd(result) { if (!result.destination) return;E se recarregarmos a página e tentarmos arrastar nosso item para fora novamente, nosso item retornará ao local original sem erro!
O que mais podemos fazer com React Beautiful DnD?
Estilos personalizados ao arrastar e soltar
Ao mover itens, o DnD fornecerá um instantâneo do estado fornecido. Com essas informações, podemos aplicar estilos personalizados para que, quando estivermos movendo nossos itens, possamos mostrar um estado ativo para a lista, o item que estamos movendo ou ambos!
https://react-beautiful-dnd.netlify.app/?path=/story/single-vertical-list–basic
Arrastando-se entre listas diferentes
Se você já usou o Trello antes ou uma ferramenta parecida, deve estar familiarizado com o conceito de diferentes colunas entre as quais pode arrastar cartões para que possa priorizar e organizar suas tarefas e ideias.
Esta biblioteca permite que você faça a mesma coisa, fornecendo a capacidade de arrastar e soltar itens de uma área arrastável para outra.
https://react-beautiful-dnd.netlify.app/?path=/story/multiple-vertical-lists–stress-test

