

Read this article in: Portuguese (Português) · Spanish (Español)
Defeating Starscream in Transformers: War for Cybertron requires more than just brute force; it demands an understanding of the Decepticon’s aerial tactics and attack patterns. To defeat this complex boss, the player must focus on destabilizing his air superiority, using cover and long-range attacks to force him to descend. The key is to exploit the moment he repositions after a missile attack, as this is when his vulnerability is highest. Staying calm, monitoring the energy bar, and executing precise attacks at the right time are the pillars for neutralizing this cunning antagonist and ensuring victory.
The relevance of Starscream and his battle in Cybertron is immense to the franchise’s narrative. Transformers: War for Cybertron, developed by High Moon Studios and published by Activision, was released on June 22, 2010, for platforms like Xbox 360 and PlayStation 3. The game takes place during a crucial moment in history, focusing on the civil war between the Autobots and Decepticons, and its plot revolves around the dangerous Dark Energon. The confrontation with Starscream is not merely a combat challenge, but a turning point that helps solidify the Decepticon’s role as a tactically challenging and central adversary to the plot.
In this complete guide, we will unravel every aspect of fighting the villain. We will analyze in detail who Starscream is and his role in the war for Cybertron, providing the necessary context for ideal preparation, including equipment and builds optimized for combat. We will also reveal Starscream’s attack patterns, present a step-by-step strategy so you can defeat the Decepticon efficiently, and conclude with a review of common mistakes and advanced combat tips so you leave victorious.
Key Points
- Starscream is a Decepticon strategist, known for his ambition and a history of calculated betrayals.
- His origin is marked by trauma, as the Autobots demolished Crystal City after he refused recruitment.
- In the war for Cybertron, he served as Celestial Commander, guarding the source of Dark Energon in an orbital station.
- Combat against him requires mastering the tactical cycle of Alert, Execution, and Recovery of attacks.
- The player must use class synergy (Leader, Soldier, Scientist, Scout) and alternate between robotic and vehicle forms.
Who Is Starscream and His Role in the War for Cybertron
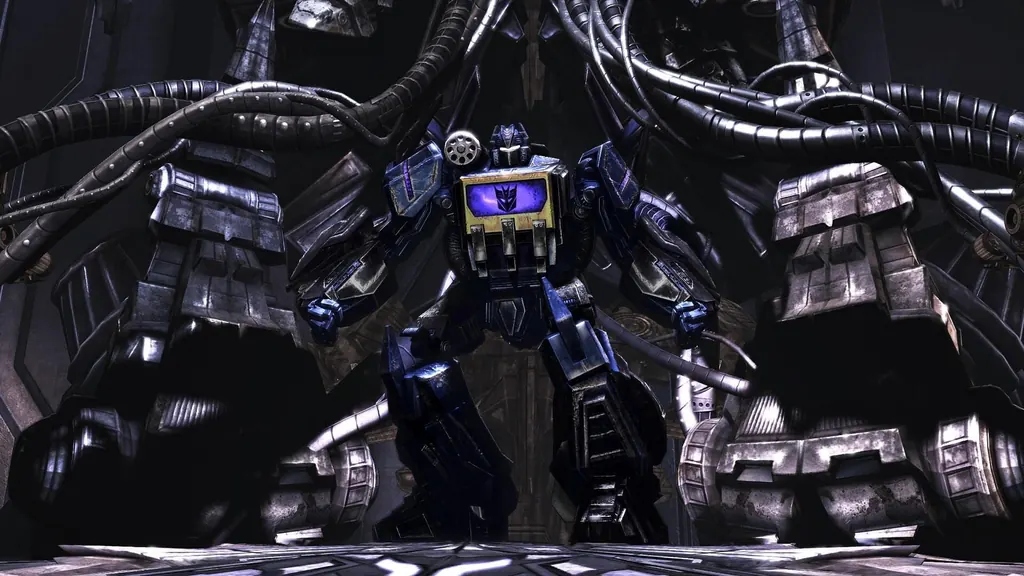
Starscream is not just an elite adversary in Transformers: War for Cybertron; he is the personification of unrestrained ambition and dangerous tactical intellect. As a high-ranking Decepticon, he established himself as Megatron’s second-in-command—a strategist whose mental capabilities are undeniable, but whose character is marked by corrosive arrogance and a history of calculated betrayals.
The Origin of the Traitor Genius
Starscream’s trajectory is a case study in wasted potential. He was trained at the renowned Crystal City College, where he was recognized as the ‘most ingenious bot on all of Cybertron. However, the civil conflict forced him down a dark path. When Optimus Prime tried to recruit him to the Autobots’ ranks, Starscream refused the call. As punishment, the Autobots demolished Crystal City before his eyes, a traumatic event that forced him to flee into the underground and eventually, unite him with the Decepticon resistance led by Megatron.
In his early efforts, Starscream tried to channel his intellect toward “peaceful” purposes. He even helped create “Glass Gas” bombs to be used against the Arca’s launch platform. However, his destiny placed him at the center of the total war, where his intelligence was channeled toward military supremacy.
The Strategic Role in the War for Cybertron
Throughout the events of War for Cybertron, Starscream plays a crucial and sometimes contradictory role. Initially, he is seen as a neutral Celestial Commander, guarding the source of the powerful and corrupting Dark Energon in an orbital research station. It is exactly at this point of control that the plot unfolds. Megatron, planning Cybertron’s return to its “Golden Age,” leads a direct attack, cutting through Starscream’s troops to seize the Dark Energon manufacturing complex.
Starscream’s arc culminates in a series of maneuvers that define his role as a tactical threat. He initially offers his loyalty to Megatron, but only in exchange for knowledge on how to control the Dark Energon. The true betrayal occurs when he reveals that he knows how to manufacture more of the substance. This knowledge is a catalyst for revolt, leading his partner, Jetfire, to escape to alert the Autobot leader Zeta Prime. Furthermore, his involvement is fundamental in activating the Energon Bridge, alongside other Seekers, such as Thundercracker and Skywarp, reinforcing his status as an indispensable military commander for the Decepticons.
In summary, Starscream represents the maximum strategic risk. He is not merely a powerful combatant; he is the brain behind the Decepticon threat, an opponent that demands not only firepower but also the player’s ability to unravel complex tactical patterns and exploit his psychological and military vulnerabilities.
Ideal Preparation: Equipment and Builds for Combat
Preparing to confront an elite opponent like Starscream is not just about courage, but about meticulous tactical planning. In War for Cybertron, success in combat against a boss depends directly on the synergy between class choice, mastery of combat forms, and resource management. Before entering the battlefield, the player must understand that combat is a third-person system that values versatility and area control, requiring more than just brute force.
The Importance of Class on Cybertron
The Cybertron universe classifies Transformers into four main categories: Leader, Soldier, Scientist, and Scout. Every character you control in the campaign is assigned to one of these classes, and it is crucial to understand that the character’s arsenal, abilities, and even vehicle mode are deeply influenced by this designation. To maximize area control and sustained damage against a tactically advanced enemy, it is recommended to build a “build” that exploits Starscream’s weaknesses. For example, while a Leader might offer coordination and command abilities, a Soldier could be ideal for maintaining a constant line of fire, while the Scientist might provide explosives or field control tactics. Mastering these synergies is fundamental, especially when facing monumental challenges, such as discovering the weaknesses of Omega Supreme.
Choosing the correct class determines the type of equipment you will be able to collect in combat. It’s not just about carrying weapons, but about bringing the set of abilities that complement each other best. A Scout, in turn, guarantees superior mobility, crucial for dodging the Decepticon’s aerial attack patterns.
Mastering Forms and Resources
The player has the ability to switch between robotic and vehicle forms at any time, and this ability is a strategic pillar. In robotic form, you can collect various weapons, reminiscent of a first-person shooter, allowing for high concentrated damage. In vehicle form, the main benefit is increased speed, allowing you to quickly reposition out of the range of the boss’s most dangerous attacks. It is vital to remember that although the character’s shield regenerates, health does not regenerate automatically. Therefore, managing health packs collected in the environment or obtained by defeating opponents is a resource that must be an absolute priority in your planning.
In summary, ideal preparation requires you not only to master movement between forms but also to utilize the synergy of classes to build an arsenal that combines area control (keeping the enemy trapped in damage zones) and sustained damage (maintaining offensive pressure). Understanding these mechanics deeply is what will ensure you are ready to face Starscream’s unrestrained ambition at its tactical peak.
Analyzing Starscream’s Attack Patterns
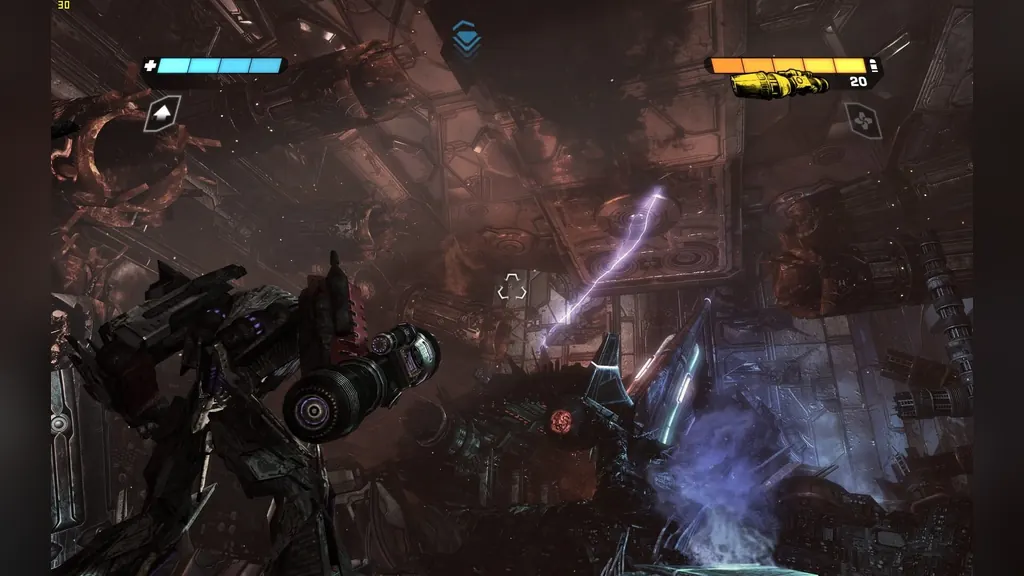
Analyzing Starscream’s attack patterns in Transformers: War for Cybertron is an exercise in pure tactical observation. Far from being merely an elite shooter, the Decepticon is a master at orchestrating a series of variable threats, requiring the player not just to react to immediate danger, but to anticipate the entire sequence of maneuvers. His combat is a study in disorientation, combining long-range attacks, area sweeps, and complex aerial maneuvers, forcing the player to maintain attention on multiple threat vectors simultaneously. Mastering these patterns is crucial, but the challenge is not limited to him; facing giants like the Omega Supreme requires a deeper understanding of combat strategies against the Omega Supreme.
Identifying Aerial and Long-Range Attacks
Most of Starscream’s arsenal is tied to his aerial mobility and positional control, especially when he utilizes structures like the orbital space station, which Megatron converts into a superweapon. When he prepares for a long-range attack, pay attention to the visual cues that precede the shot. These attacks usually manifest as concentrated energy bursts. It is crucial to identify the moment he stabilizes his flight or weapon, as this is the ideal blind spot for a counterattack. In terms of audio, the sudden increase in engine noise or the hum of energy charging serve as essential auditory warnings so that you can position yourself outside the impact trajectory.
The Danger of Sweeps and Area Attacks
Starscream doesn’t rely only on direct shots; he uses area control tactics (AoE). These attacks are designed to force the player to move constantly, preventing any moment of rest or planning. When he executes energy sweeps, especially in group combat with his fellow Seekers, the pattern is a semicircular coverage. The visual cue here is the area preparation, where the energy field begins to manifest before the impact. The key to surviving these sweeps is lateral movement and perfect timing to move outside the attack’s radius of action, and not just behind it.
In a boss fight, it is vital for the player to categorize the attack into three stages: Alert (auditory or visual cues), Execution (the attack itself), and Recovery (the time Starscream is vulnerable after the attack). The ability to transition between robotic and vehicle forms, mentioned in the game’s context, is what allows the player to maximize this safety transition. By identifying that he is in a more predictable attack pattern—such as a sequence of bursts after a tactical landing—it is the ideal time to counterattack, exploiting the time interval the Decepticon uses to recharge or reposition.
In summary, treating Starscream as an opponent with a varied arsenal, and not just the weaponry of a shooter, is the tactical difference. Victory will not come only from powerful equipment or *builds*, but from accurately reading his patterns: knowing when to dodge the energy burst, when to evade the area sweep, and, most importantly, knowing how to take advantage of the brief moment of vulnerability that the sheer complexity of his own attacks creates.
Step-by-Step Strategy to Defeat the Decepticon
Defeating Starscream is not a matter of brute force, but rather of pure tactical observation and calculated patience. Given the Decepticon’s highly mobile nature and its mastery of area control (AoE), the combat must be treated like a dance of pursuit and anticipation. Success depends on forcing Starscream to operate outside of his aerial comfort zone or mobility peaks.
The Synergy of Positioning and Timing
Before starting the fight, remember that Starscream frequently uses the orbital space station, an environment that enhances his arsenal and maneuverability. Your strategy must therefore focus on breaking his rhythm and exploiting the moments of transition between attacks. The secret lies in understanding that, in any boss attack, there is a cycle of Alert, Execution, and Recovery. You must master this cycle.
Below, we detail the tactical strategy in three crucial phases to ensure you maintain pressure without being caught by area control maneuvers:
- Initial Phase: Distance and Sustained Damage. Keep moving constantly, using environmental cover (like orbital station structures) to mitigate the impact of his AoE attacks. The primary goal is to wear down his energy, forcing him to spend mobility and ammunition resources. Do not attempt a direct confrontation; use distance as your greatest weapon.
- Intermediate Phase: Observation and Counterattack. This is the moment for maximum patience. Carefully observe the “Recovery” period after a large sequence of attacks or a major recharge movement. When Starscream is momentarily vulnerable, do not attack immediately. Wait for him to demonstrate a repetitive attack pattern and use that pattern to predict his next move.
- Final Phase: Exploiting the Blind Spot. The weakness of an opponent as intelligent as Starscream is his own arrogance and his dependence on mobility. When he is forced to execute a tactical maneuver that leads him to a more exposed point, or when he is overwhelmed trying to maintain area control, that is the time to counterattack. Use burst damage in a quick attack, before he can reposition or call for reinforcements.
Remember that perfect timing is more valuable than the best weapon. If you force Starscream to fight in an environment that nullifies his air advantage—like a confined corridor or an elevated cover point—you will have drastically increased your chances of victory. Treat every movement of his as data to be collected, and the counterattack will be your masterstroke.
Common Mistakes and Advanced Combat Tips
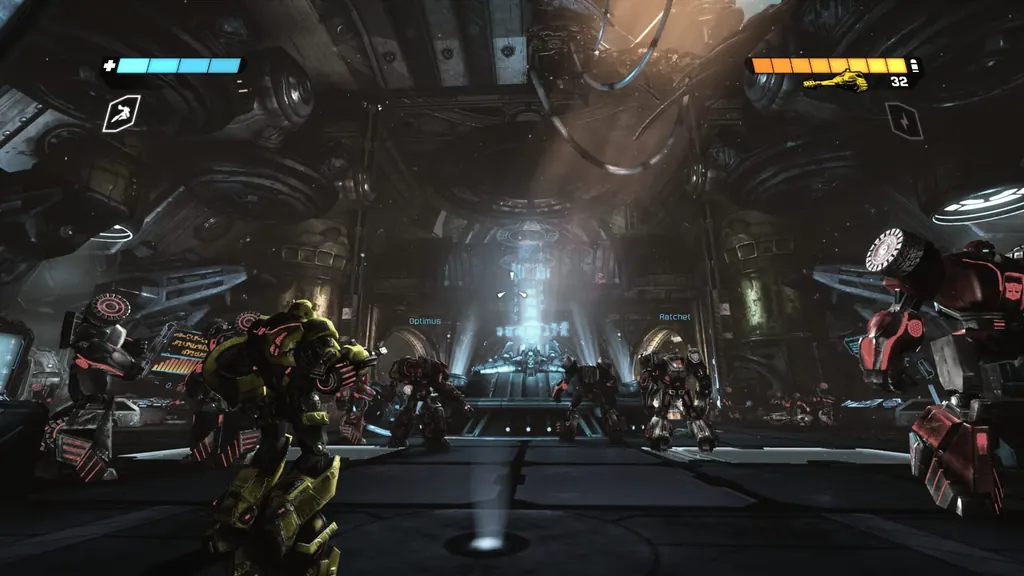
Mastering combat against Starscream in Transformers: War for Cybertron transcends simply executing combos and using the best equipment. It is a test of tactical patience, requiring the player to adopt the mindset of an observer and not just an attacker. The most common and dangerous mistake is overconfidence; believing that brute force or attack speed will be enough. Remember that, in a boss confrontation as complex as the one requiring strategies against Nemesis Prime, victory lies in resource economy and perfect timing, not in total damage dealt.
Common Mistakes and Advanced Combat Tips
Combat against Starscream is a cycle of risk and reward that requires moderation. It is never about maintaining a constant attack rhythm. Instead of running blindly toward him, use the dodge movement strategically. Dodging is not just a way to evade a shot; it is a positioning tool that must be used to force Starscream to react to your movement, and not the other way around. Taking advantage of the terrain is crucial. If the combat is taking place in a cluttered area, such as the orbital space station or the outskirts of Iacon City, look for cover or elevation changes that allow you to break his line of sight, forcing him to alter his tactical focus.
A fatal rookie mistake is attacking when Starscream is executing a high-power move. He is a master of Area of Effect (AoE) tactics, and his most devastating attacks usually come accompanied by a visible energy charge or a predictable movement pattern. Instead of counterattacking immediately, the advanced player must observe the signs that precede a large-scale attack. For example, when he is preparing an attack reminiscent of a superweapon’s power, like those he used in the past, the focus must be on repositioning outside the radius of effect, and not on trying to retaliate. His recovery time, even if brief, is the only safe moment for a concentrated attack.
In summary, fighting Starscream should be viewed as a high-speed game of chess. The primary objective is to force the opponent to expend their most dangerous arsenal while you manage your own energy and position. It’s not about who attacks the most, but who can control the space and flow of the battle. Stay calm, observe the attack patterns, and treat every one of his movements—be it a dive or an energy blast—as valuable information that will guide your next dodge or counter-maneuver.
Rewards and What to Do After Victory
Victory over Starscream in Transformers: War for Cybertron transcends the mere completion of a boss challenge; it represents a dramatic turning point in the civil war of Cybertron. Understanding the weight of this confrontation is crucial, as the rewards are not only quantifiable in terms of experience (XP) or resources, but are narrative, fundamentally altering the course of events for the Decepticons and the fate of the planet.
Narrative Advancement and Power Resources
The central goal of the Decepticon faction, led by the relentless Megatron, has always been to return Cybertron to its “Golden Age,” an ideal that requires extreme energy power. It is in this context that Dark Energon becomes the most valuable resource. Starscream himself, in his role as Sky Commander, was guarding and controlling the manufacturing plant for this material at an orbital research station. Dark Energon is described in the lore as an unstable and corrupting substance of immense power.
By defeating Starscream and, consequently, the structure he was defending, players not only remove a tactical threat but also pave the way to the core of the plot. Megatron and the Decepticons are able to launch a direct attack on the orbital space station. The capture and control of Dark Energon are, therefore, the true prize of the mission. This corrupted resource is vital, as it allows the Decepticons to advance their plan for restructuring the planet, an objective that the leader of Megatron’s forces constantly seeks.
Political Consequences and Starscream’s Fate
The most significant aspect of the reward is the political transformation that occurs with Starscream. His defeat does not result in his total elimination, but in a profound capitulation. After Megatron immerses himself in Dark Energon, Starscream’s resistance breaks, and he offers his loyalty to Megatron. This event is a narrative masterstroke: the character, once a high-ranking rival, becomes a strategic asset for the Decepticons.
For the player, this means that the victory not only advances the plot to the next phase of the conflict but also alters the balance of power. The acquisition of Dark Energon and the surrender of an intellectual like Starscream solidify Megatron’s power and enhance the military might of the Decepticons in preparation for the war’s climax. In short, the battle against Starscream is the catalyst that allows the Decepticons to obtain the necessary power to continue their conquest campaign and change the destiny of Cybertron.
On a more practical level, completing this story arc ensures that the player gains access to subsequent phases and missions that explore the use of this newly acquired power, maintaining the pace and tension of the conflict until the war’s final resolution.
Frequently Asked Questions
What is the best character class to face Starscream in War for Cybertron?
The text suggests that there is no single ideal class, but rather synergy. To maximize area control and damage, it is recommended to build a ‘build’ that combines a Soldier to maintain the line of fire, a Scientist for explosives, and a Scout for superior mobility.
Is it possible to defeat Starscream without using healing items?
Although the text emphasizes that managing health packs is an absolute priority, it focuses more on strategy than on item dependency. Success in combat depends more on tactical observation, positioning, and perfect timing to exploit his vulnerabilities.
Where exactly in the Decepticon campaign do I encounter the Starscream challenge?
Starscream is initially seen as Comandante Celestial, guarding the source of the powerful and corrupting Dark Energon in an orbital research station. It is at this point of control that the plot unfolds, making it the location of his strategic role in the war.
What is the difference between the Starscream of the game and the character from the animated series?
The provided article is focused exclusively on the narrative and combat mechanics of Starscream in ‘Transformers: War for Cybertron’. There is no information or comparison available in the text regarding the character in any animated series.
Is Dark Energon necessary to defeat the boss, or is it just a story resource?
Dark Energon is a resource of great strategic and narrative importance. It is the source that Starscream guards, and the knowledge of how to replicate it is the catalyst for his rebellion, defining his role as a maximum tactical threat to the Decepticons.
Conclusion
Facing Starscream in Transformers: War for Cybertron is, above all, a test of tactical intelligence. The Decepticon is not merely an opponent with high firepower; he is the personification of a strategic threat, a tactical genius whose ambition and knowledge of Dark Energon define the climax of the conflict. Defeating him requires going beyond simple brute force, demanding that the player has the ability to decipher complex attack patterns, anticipate aerial maneuvers, and identify the moments of the Decepticon commander’s vulnerability.
For combat to be successful, meticulous tactical planning is essential. The synergy between the classes (Leader, Soldier, Scientist, and Scout) and mastering the transition between robotic and vehicle forms are strategic pillars. The player must use area control to maintain offensive pressure while managing vital resources like health kits. Remember that the key to surviving the character’s long-range attacks and area sweeps is constant observation: pay attention to the visual and auditory signals that precede the shot, turning reaction into anticipation.
Mastering these mechanics and understanding the strategic risk that Starscream represents not only prepares you for battle but also elevates your experience to a level of tactical mastery. Arm yourself with knowledge and never underestimate your opponent’s mind; true power lies in planning the next move before they can execute it.